Monday 23 / March / 2026
The moment we buy a two-wheeled ride, we start dreaming of ways to make it look more attractive and appealing.
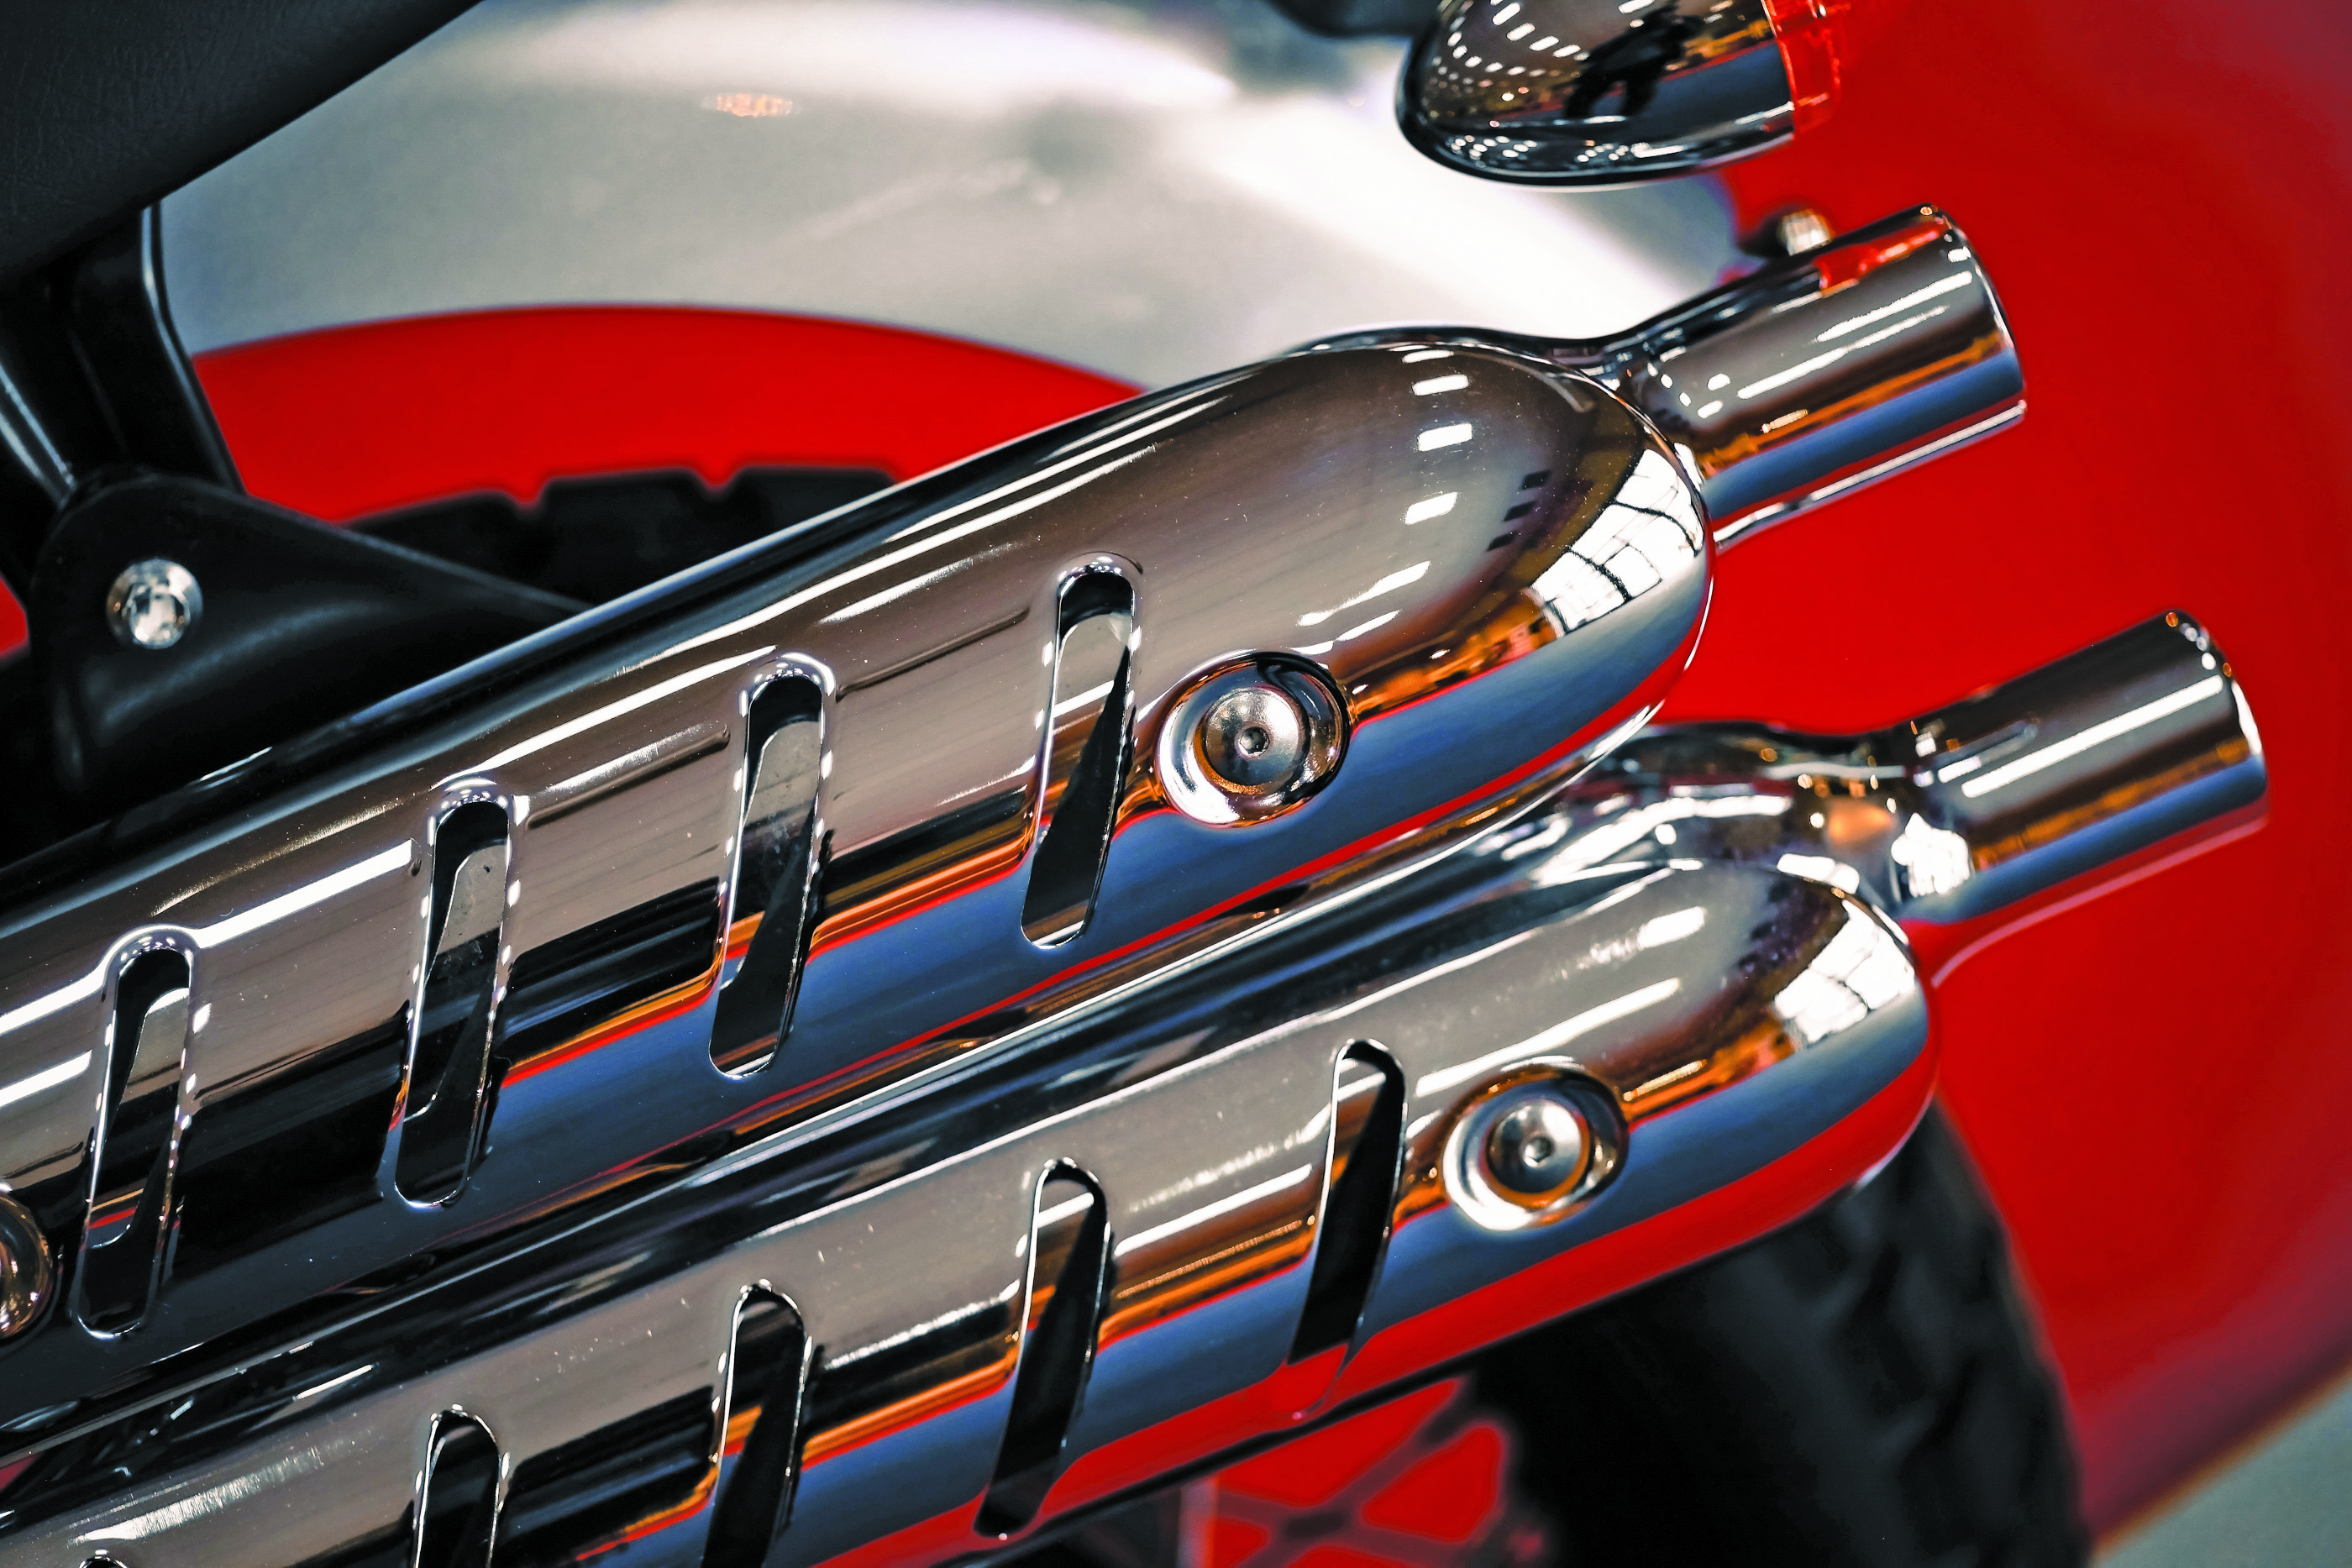
And the first thing that comes to our mind is the exhaust system. After all, half the money in a bike is the sound, and all those tighter emission and sound norms have forced the manufacturers to reduce the lion’s roar to a mere meow. The better the aftermarket pipes you install, the more respect you earn as a biker on the street.
Switching the exhaust differs from bike to bike. How you are going to install the exhaust depends quite a lot on the type of bike you ride and also on the type of exhaust system you are planning to install. Cruisers often ask for full exhaust system swap, while the sporty and off-road rides easily settle for the slip-ons. Most of the riders love to install the pipes on their own and here is how to install them.
Performing the Check
While unpacking your new pipes take extra few minutes to inspect the exhaust system right after it gets out of the package to make sure there are no scratches, dents, or blemishes. Also make sure it is exactly the same spec that you ordered for. Wrong spec could mean all your efforts go waste, if after your hard work you discover that the new pipes aren’t fitting. Spare yourself the disappointment.
Carefully read the instructions. It might sound boring but you’re about to handle some very expensive parts and it would be a bummer to mess up. Familiarise with them before trying your hands on setting them up. Also, do a thorough inspection of the parts that the instruction booklet tells you to remove prior to the installation.
Removing the Stock Pipes
Remove the extra parts in your exhaust system. Many bikes will require you to take off the floorboard or a fender first. If your bike has an oxygen sensor, you’ll need to detach any sensors that are plugged into the wiring harness and remove the cable ties to free it. Check your bike’s manual. Be careful not to mess up with any wiring.
To remove the pipes, start with the two nuts holding the header in place. This is the piece attached directly to your engine. There should be two bolts holding it on. Remove these and set them aside carefully where you could pick them back from.
Don’t just throw here and there in excitement. Then you’ll need to remove the two bolts (or nuts) that are holding your exhaust mounting brackets to the frame of your motorcycle. Some bikes may also have studs that will need to be removed.
If you had to detach some oxygen sensors earlier, you’ll also want to remove them from the old pipes in order to reinstall them on the new ones. Some models may also have a bracket on the right side of the lower transmission cover.
After you’ve removed this, you should be able to carefully slide the exhaust pipes from their ports and lift them off of your bike. Finally, use pliers to remove any snap rings or flanges from the pipes or your bike.
It is better to replace them in any case, even if they look good (they only cost a few pennies; nothing compared to the hefty investment you have already made).
The Installation
Here comes the main part. Be careful not to scratch the pipes or your bike paint during installation. Be careful to cover the painted bike parts near to the exhaust assembly with towels.
Use new crush gaskets every time you switch the exhaust. The new gaskets will give you a great seal and ensure you won’t have any leaks in your exhaust system. If you had removed any oxygen sensors, reinstall them into the new pipes as well as any snap rings or flanges.
Now slip the pipes up to the cylinder heads. Slowly and carefully place the pipes into their ports; make sure you do not damage the new gaskets. Tighten the bolts of the head pipe just enough to hold the exhaust pipes in place, and then start tightening the bolts from the back working your way up right to the head pipe. Fit back any parts you removed to access your pipes such as foot pegs.
Hold your breath and fire her up. Viola, the rumble. Keep the engine running for a good few minutes while you check for any leaks in the system. Be sure to check your bolts after the first few rides to make sure nothing comes loose.
Slip-ons
More common with the off-road and sport bike variety, putting on the slip-on is quite easy. Simply remove any mounting hardware, loosen the clamp, and slide the old exhaust system off. Slide the new slip-on and bolt down the hardware and clamp. You are ready to go out roaring loud.
Word of Caution
Aftermarket exhausts are semi-restricted or fully unrestricted. It means your bike will be getting a lot more air through its intake. Retuning the fuel system is a must, to correct the fuel/air ratio accordingly. Incorrect air/fuel ratio may cause your bike to run lean, often resulting in severe engine damage, especially if you’re a speed lover.
You will need a jet kit if your bike is carbureted or a fuel controller (like Power Commander), if its EFI (Electronic Fuel Injection) governed. It is even better to get the bike dyno-tuned or installing additional module that automatically corrects the air/fuel ratio.
Also, carefully store your stock pipes. You never know when you could need them back. Apply some anti rusting solution and store them, or much better hang them by the length in a cool dry place. Enjoy the new sound. Ride safe.
-faisal@timesofoman.com