Wednesday 29 / April / 2026
Everything i have been able to accomplish from being a mom to being a successful artist, is a result of the influence and life lessons I have learnt from my mom,” Delnaz said. “My mother has been the biggest inspiration in my life.”
After Delnaz’s father was diagnosed with Alzheimer’s, her mother stepped up as the central support of the family, yet found a way to care for herself at the same time.
“Art became a part of my mom’s life and a means to escape from the worldly sadness. She found herself through art by disconnecting from the world and connecting with her inner self. That day I knew that’s what I want to do and that’s who I aspire to be,” Delnaz said.
Self-taught in the art of punch craft, Delnaz expanded her techniques through online video tutorials. “It is a cutter in which the outline of a flower, leaf or any design is created. Then the same will be embossed and curved into various shapes which gives a 3D effect,” Delnaz explained, when asked about the curious name of this art form. It seems to essentially be like a hole-punch in various shapes, which are then embellished through more sophisticated detailing techniques.
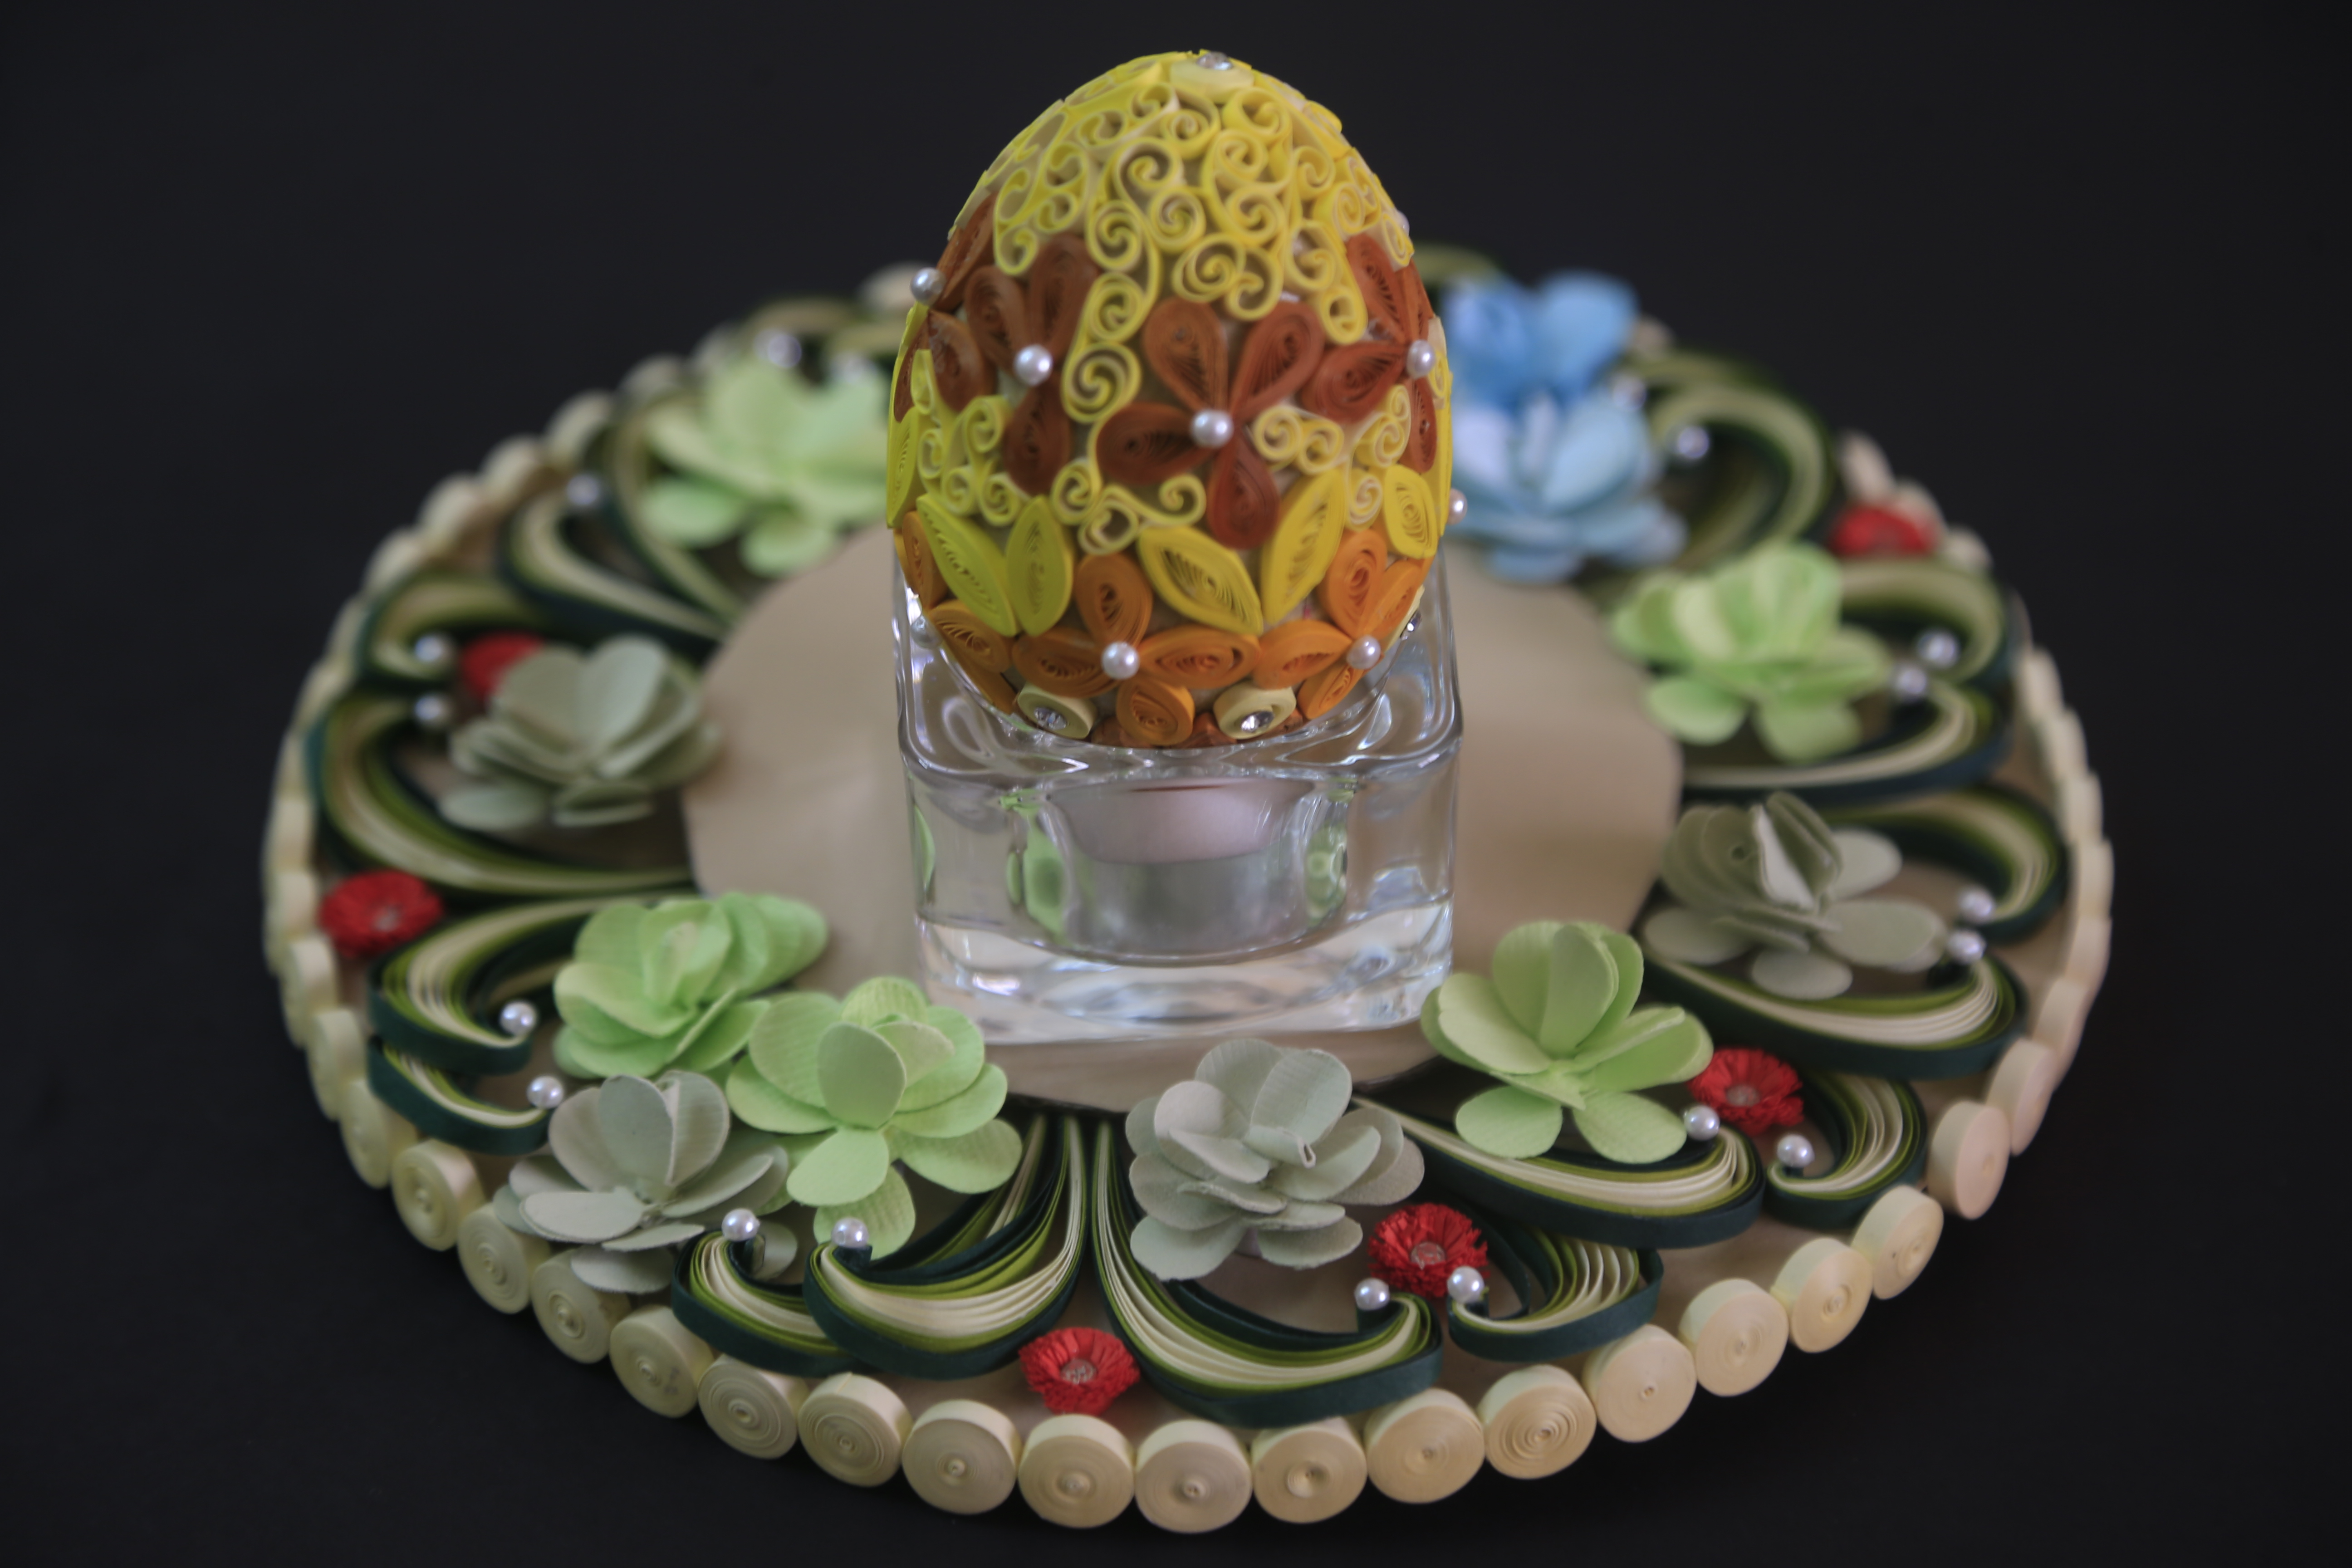
For her works, Delnaz primarily uses the quilling and flowers techniques. “I like to blend the two techniques as they both complement each other in their own beautiful way and add life to the art piece,” she said.
The time she invests to complete a work depends on the size of the project, differing from design to design. Delnaz starts with ordinary coloured A4 size paper for the punch craft work and for quilling, she has A4 sheets cut into various size strips from 2mm to 10mm in width. She adds different materials, like pearls and stones to her finished works, which include lamp shades, decorative egg shells, frames, candle stands, vases, envelopes, and designs on wooden gift boxes, among other things.
“Every artist and craftsman has a unique style of transforming their creative ideas on a surface using traditional techniques,”she said. “All my creations are stirred by nature and the earthly colour palette that we see around us.”
Delnaz has made her art her business over the years, selling bespoke items, participating in trade fairs, and offering demonstrations at the Indian Social Club. But she sees this creative endeavour as more than a business, and even more than a way of expressing her own creativity. Delnaz wants to help inspire stay home moms who have given up their ambitions in life. She hopes that her works can convey the message that it’s never too late to do what you love.
Materials required
• Scrapbook paper for flowers
• 1 big size punch
• Embossing pad along with the embossing pen
• Tweezer
• Quilling strips 3mm of 2 different green colours
• 3mm one colour strip for the circles
• 5mm quilling strips, 1 colour required for the flower
• Glass holder and 1 candle
• Cardboard cut into one big circle and one small circle
• Quilling needle
Method
•Cut two pieces of cardboard and cover it with a thick scrapbook paper.
•Then make circles with 3mm size
of colour strip
of 21cm and make approx 70 pieces.
•Then paste those circles on the edges of the cardboard to give a fine effect.
•To make the flower punch take 6 pieces of the flower with the scrapbook paper.
•Emboss one flower on each petal and turn it and circle in the middle. Second flower piece will also go the same way like embossing on each petal and glue it on the first
embossed piece.
•Then the third piece will have a slit and then emboss each petal the same way and join it by glueing.
•Place it on the two which are glued. Then for the fourth one cut one petal and emboss the petals the same way and join it and then glue it.
•For the fifth one cut 2 petals and emboss the same way and glue it all together. This will give like a formation of a rose. Approximately 20 pieces would be required.
•Take 5mm quilling strip of 14 cmwhich have to be fringed till the end and then roll it on the quilling needle, glue it, and then open it up. Approximately 8 pieceswould be required.
•Take 2 shades of green, 7 strips in total. Put 3 strips of light green in the middle and 2 strips of dark green both the sides. Glue them on the tip and roll it on the tweezer and cut it and glue it, this will be formed like a curl. Makes approximately 20 pieces.
•Once these materials are ready you can start pasting them depending on the way you want to design it.
All the equipment needed for punch
craft is available at Stationary Hut,
Asallah Towers, Ghubra (+968 9772 0000)
—ashishdubash@timesofoman.com